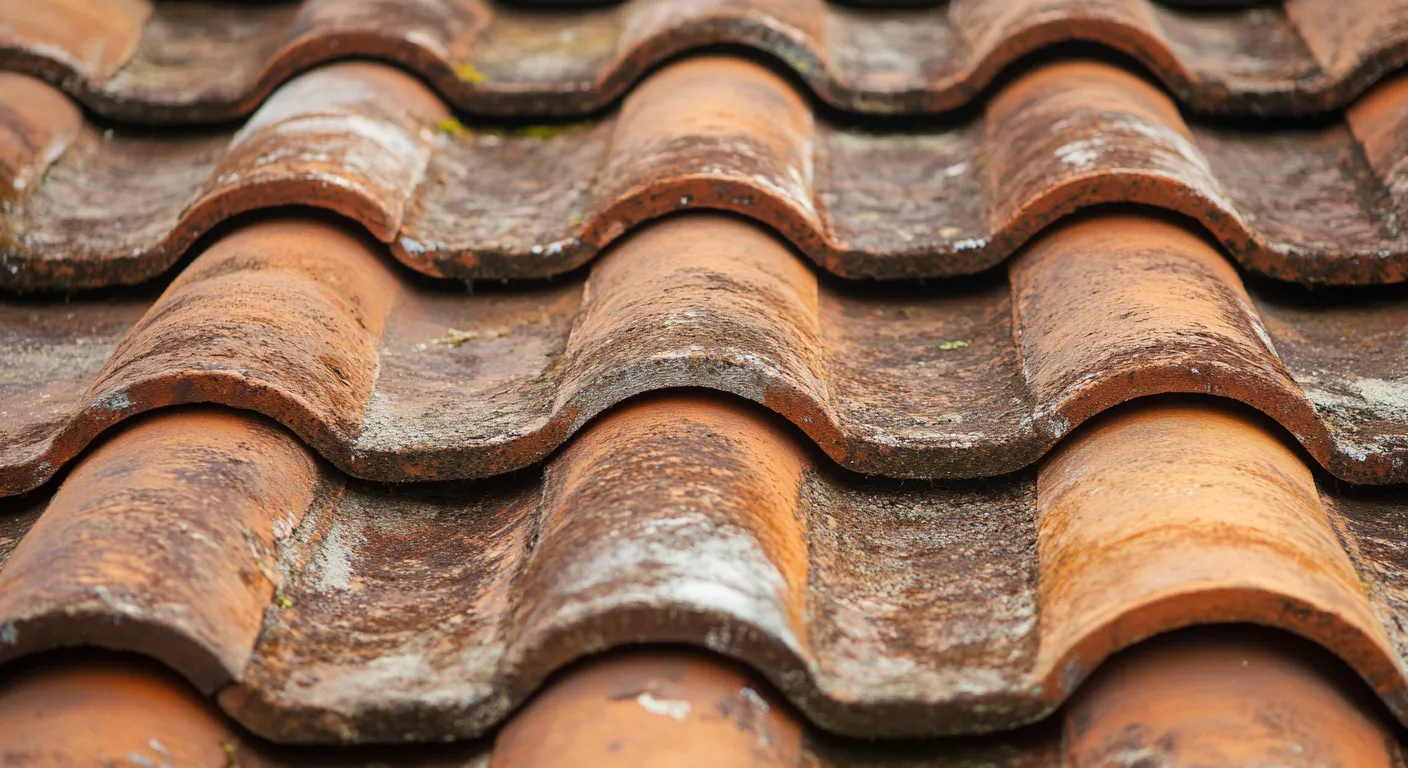
Comprehensive Guide to Fixing Roof Flashing
Roof flashing plays a crucial role in protecting your home from water damage. Positioned around vulnerable areas like chimneys, skylights, and valleys, this thin metal barrier redirects water away from joints and edges, preventing leaks and structural decay. Over time, flashing can deteriorate, necessitating timely repairs to maintain your roof’s integrity. Select Pro Contracting in Plymouth, MA, offers professional flashing repair services to safeguard your home against the elements.
Why Roof Flashing is Important
Flashing ensures that water flows away from critical areas where the roof meets other structures. Without properly installed or maintained flashing, water can seep into cracks, causing leaks that may lead to mold, rot, and structural damage. Areas prone to flashing issues include:
- Chimneys: Vulnerable due to their size and positioning.
- Vents and Skylights: Common points for leaks if flashing fails.
- Valleys: These water-heavy areas demand robust flashing to prevent pooling.
Common Signs That Flashing Needs Repair
Knowing when to repair roof flashing can save you from extensive damage. Here are the warning signs:
- Leaks: Water stains on ceilings or walls are a clear indication of compromised flashing.
- Rust or Corrosion: Metal flashing often corrodes over time, weakening its water-resistant properties.
- Gaps or Separation: Visible gaps between flashing and the roof signal potential water entry points.
Steps to Repair Roof Flashing
Repairing flashing involves precision and proper technique. Here’s a step-by-step process:
- Remove Damaged Flashing
Carefully lift the shingles surrounding the flashing and remove any nails or adhesives holding the damaged section in place. - Inspect the Area
Check for water damage or rot beneath the flashing. Replace any compromised materials to ensure the roof’s durability. - Install New Flashing
Cut new flashing to fit the area snugly, securing it with roofing nails or screws. Seal edges with roofing cement to create a watertight barrier. - Reapply Shingles
Replace the shingles removed during the process, ensuring they are aligned and securely fastened.
Unique Fact
According to industry research, more than 80% of roof leaks occur at flashing points, making timely maintenance essential for avoiding costly repairs.
Choosing the Right Material
Roof flashing materials vary in cost and durability. The most common options include:
- Aluminum: Lightweight and easy to shape but prone to corrosion without proper coating.
- Copper: Durable and visually appealing but more expensive.
- Galvanized Steel: A cost-effective option with strong corrosion resistance.
FAQs About Roof Flashing Repair
- How much does it cost to repair roof flashing?
Minor repairs range from $150 to $500, while extensive replacements can cost up to $1,500 depending on roof size and complexity. - Can I repair the roof flashing myself?
DIY repairs are possible for minor issues, but professional expertise is recommended to ensure a proper seal and long-lasting results. - How often should flashing be inspected?
Inspect flashing annually and after severe weather to identify potential issues early. - What causes flashing to fail?
Common causes include improper installation, corrosion, and weather-related wear and tear. - Is replacing flashing necessary during a full roof replacement?
Yes, replacing flashing during a roof replacement ensures a consistent seal and prevents future leaks.
For additional guidance on shingling your roof and protecting vulnerable areas, click here. Regular maintenance and timely repairs by professionals like Select Pro Contracting ensure your roof stays watertight and secure for years to come.